How to try on
Upload your photo
One upload powers every try-on. Only you see it — swap it anytime in your profile page.
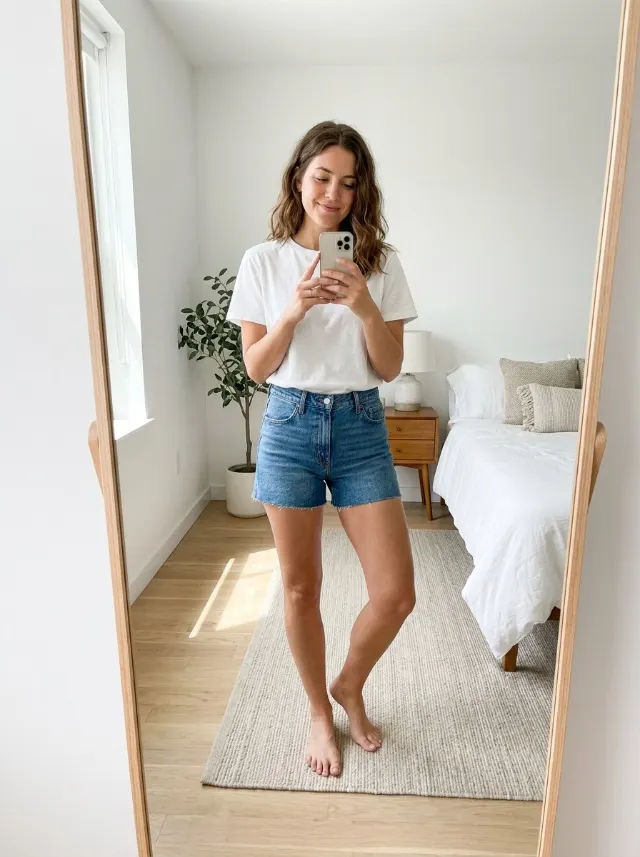
- ✓Good lighting, no filters
- ✓Portrait 3:4 format — as your camera takes it — gives the most realistic try-ons
- ✓Fitted short clothes help accuracy
- ✓Keep your hands visible / out of pockets
- ✓Only you in the frame
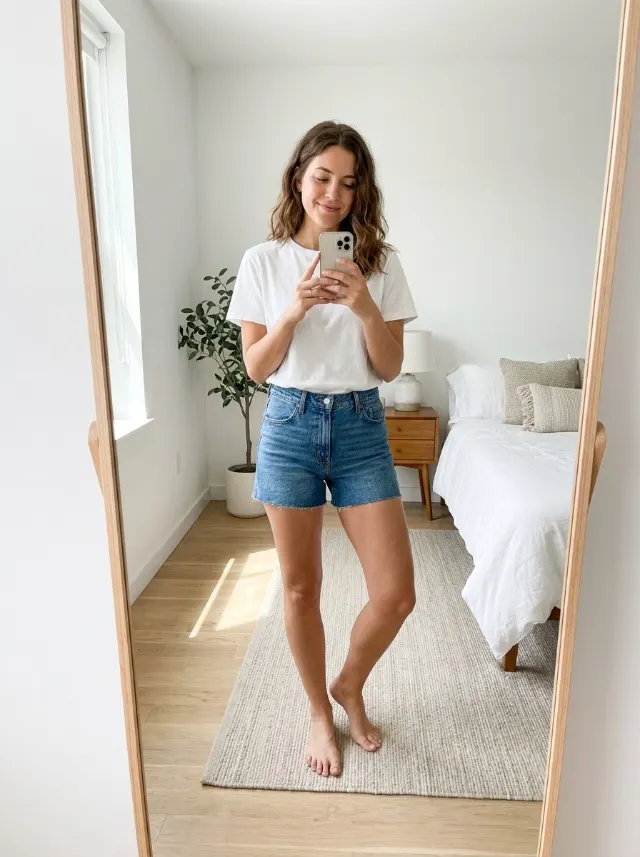
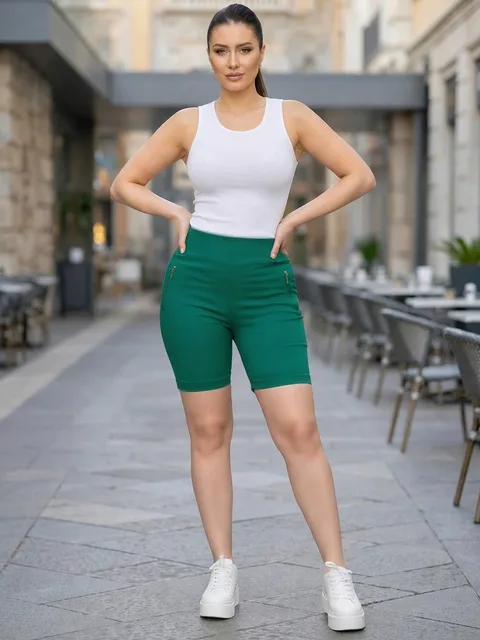
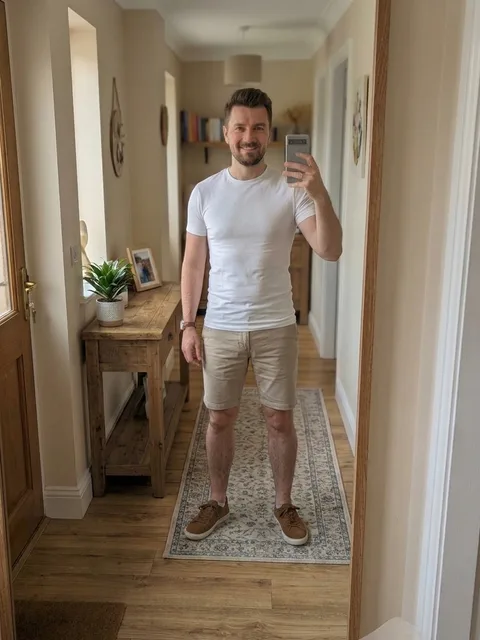
- Hold the phone too close to your face or body when you take the photo.
- Sit or crouch.
- Take the picture from far away.
- Upload photos of children.
- Upload nude photos.
Add the product
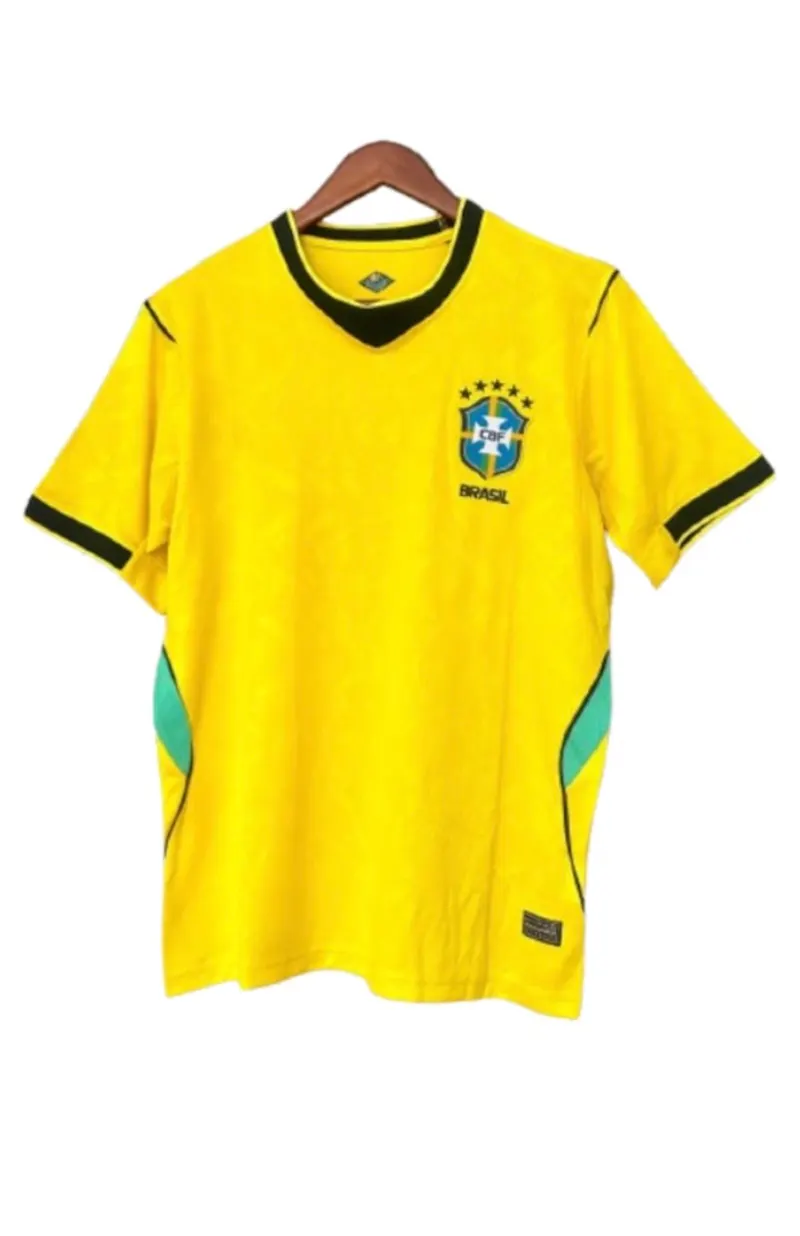
Anything you can photograph or screenshot works — a shop listing, a picture you took in a store, an item already in your wardrobe. Here is the quickest way to grab one:
 +
+
Can I try a full outfit at once?+
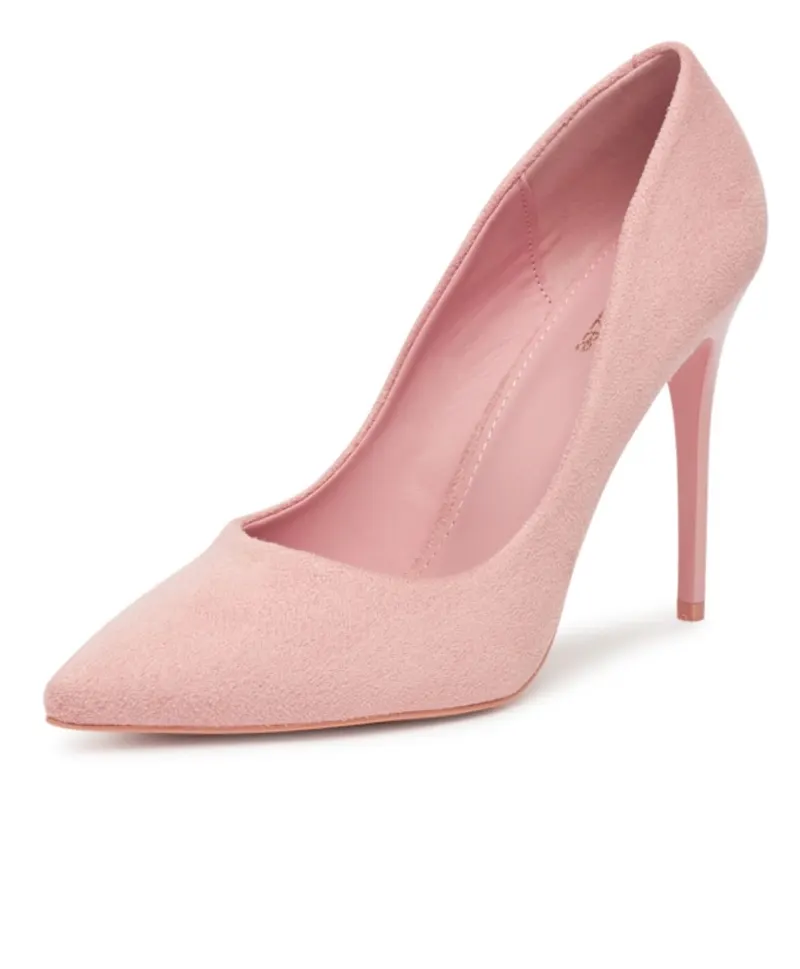
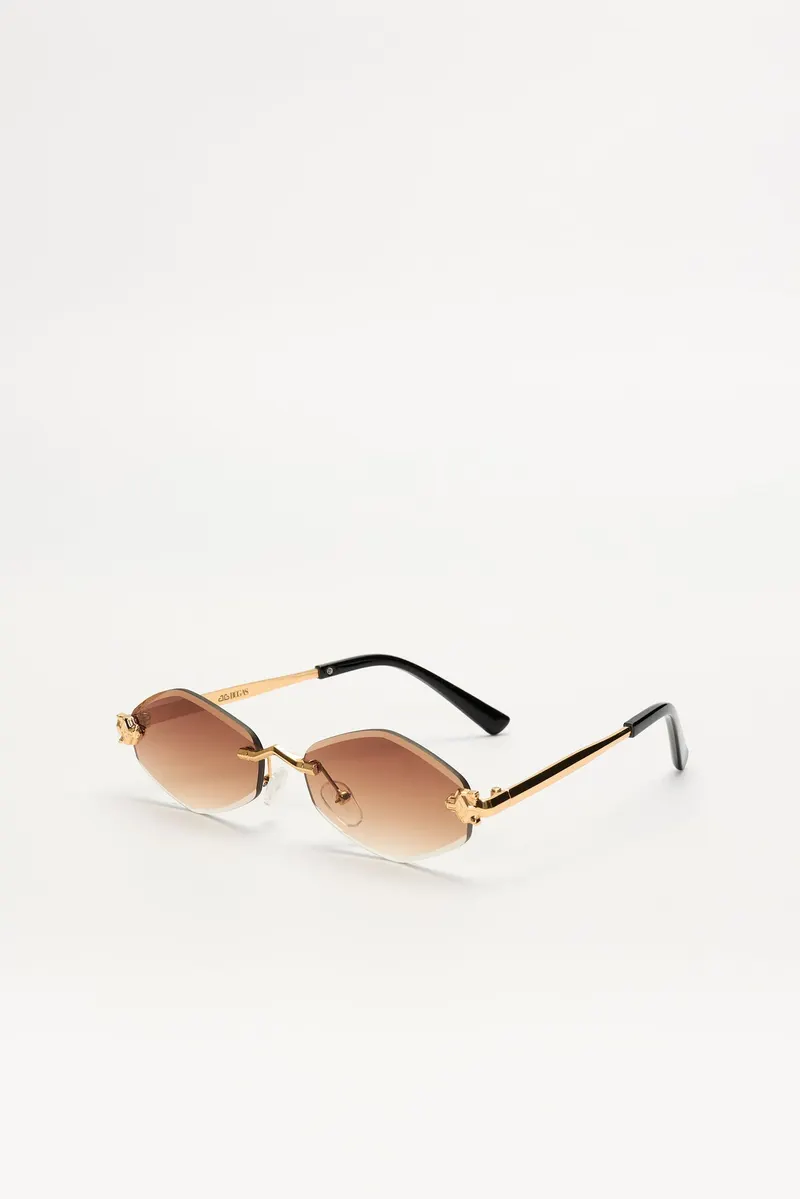
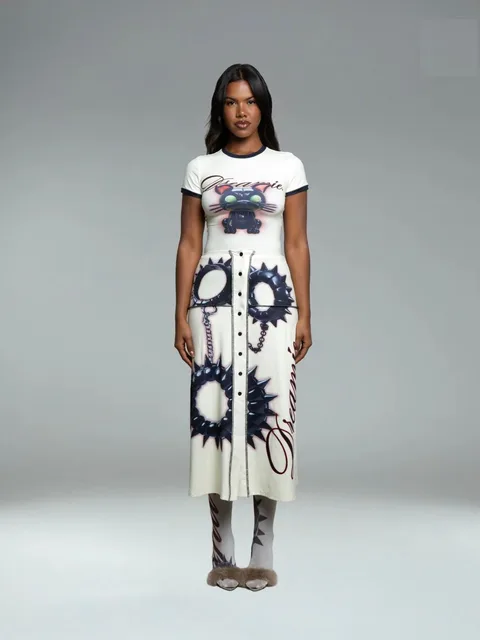
Yes — fill any of the four zones (upper body, lower body, foot, accessories) and tap try-on. You'll get one photo with everything on.
How do I add a product?+
Tap a body zone, then choose a clear photo of the item (a plain-background packshot works best).
Can I use a photo of the item worn by a model?+
Yes — that works too. Fittly picks out just the garment and puts it on you. Keep in mind a plain product photo usually gives the most accurate result, so use one when you can.
How many try-ons does a look use?+
One per product. A top alone uses 1; a top + jeans + sneakers look uses 3.
Can I save the product's store link?+
Yes — tap a body zone and paste it in the “Save the product link here” box. When you save the look, the link is kept with it, so you can jump back to the store and buy.
Why is the dress zone locked?+
A dress replaces both your top and bottoms, so it can't be combined with a separate upper- or lower-body item. Remove those first — or remove the dress to add separate pieces.
Ready to see it on you?
Upload your photo once and start trying things on.
Get started →